


Introduction to 35-DS3ChipDUS3
The how to install 35-ds3chipdus3 is an advanced integrated circuit designed to facilitate high-speed connectivity and data transfer in various electronic applications. As a crucial component in digital communications, this chip serves multiple purposes, including encoding and decoding data while ensuring minimal signal degradation. By understanding the functionality and features of the 35-DS3ChipDUS3, users can leverage its capabilities to enhance their projects significantly.
This chip stands out due to its specialized design, which allows it to operate effectively in diverse environments. Key features of the 35-DS3ChipDUS3 include robust error correction algorithms, low power consumption, and high signal integrity. These features enable engineers and developers to implement the chip in projects requiring reliable performance, such as telecommunications, data centers, and industrial automation systems. The versatility of the 35-DS3ChipDUS3 makes it an ideal choice for professionals looking to optimize their electronic designs.
The target audience for this chip primarily includes electronic engineers, technicians, and hobbyists who are keen on improving their understanding of high-performance chips. Users can expect to gain substantial benefits after successfully installing the 35-DS3ChipDUS3, such as improved data throughput, reduced latency, and enhanced system reliability. Furthermore, projects incorporating this chip will likely experience increased efficiency and reduced operational costs over time.
By mastering the installation and integration of the 35-DS3ChipDUS3, individuals can advance their skills in electronics and contribute to more efficient and reliable technological solutions. The significance of the chip lies not only in its technical features but also in its capacity to drive innovation across various industries.
Necessary Tools and Requirements
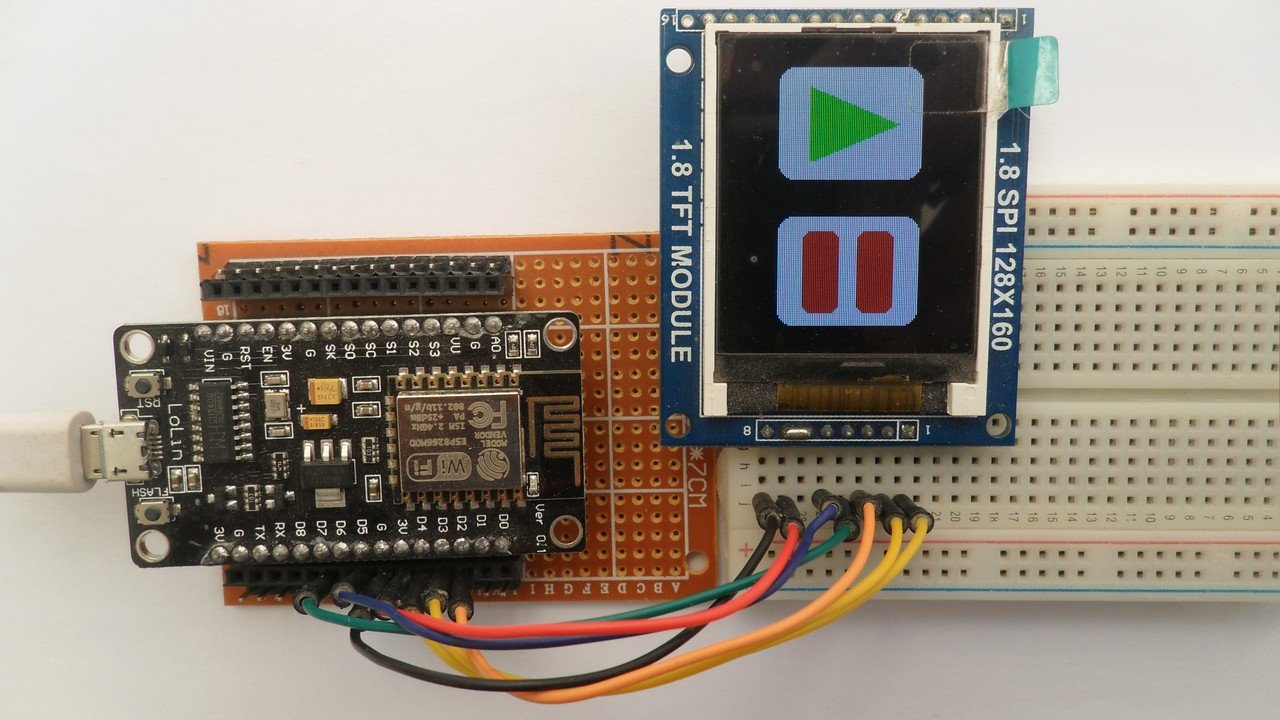
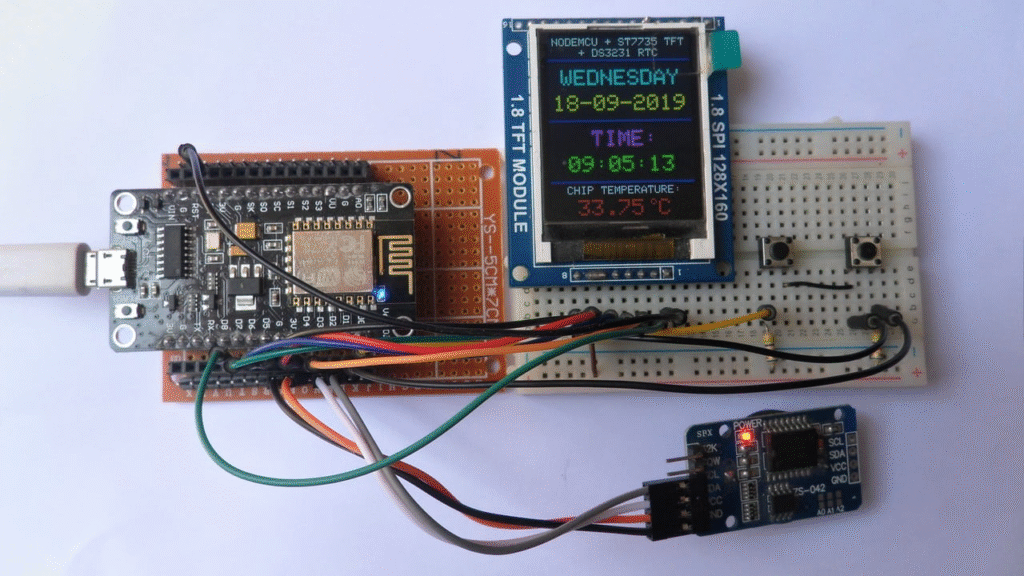
Embarking on the task of how to install 35-DS3ChipDUS3 necessitates a comprehensive understanding of the tools and components required for a successful installation. Preparing adequately is essential, as it influences the installation process significantly. To facilitate this, the first category of items is the hardware requirements. You will need a reliable power supply that meets the specifications of the 35-DS3ChipDUS3; this ensures that your device operates optimally during and after installation. Additionally, a suitable motherboard that supports this particular chip is crucial.
Next, consider the materials needed for the installation. A microcontroller development board can be beneficial as it provides an interactive platform to test and validate the integration of the 35-DS3ChipDUS3. Soldering equipment forms another essential part of your toolkit. This includes a soldering iron, solder, and desoldering braid for any necessary adjustments or corrections during the installation process. Furthermore, wiring harnesses and jumper wires will be necessary to facilitate connections between your components.
On the software side, you will require a compatible integrated development environment (IDE) that supports programming the chip. Familiarity with relevant programming languages such as C or Python will aid in writing the code to interact with your 35-DS3ChipDUS3. Specific drivers may also be needed to ensure your software effectively communicates with the hardware. Lastly, it is prudent to have a multimeter on hand for testing voltage levels, circuit continuity, and ensuring that everything is functioning correctly during and after the installation phase.
Step-by-Step Installation Guide
Installing the 35-DS3ChipDUS3 requires careful attention to detail and adherence to safety protocols. Follow these steps to ensure a successful installation.
Step 1: Gather Required Tools and Materials
Before beginning the installation, ensure you have all necessary tools at hand. Common tools include a screwdriver set, wire strippers, and safety goggles. Ensure you have the 35-DS3ChipDUS3 module and its components available, including the wiring harness and connectors.
Step 2: Power Off and Prepare the System
Always start by powering down the system where you will install the 35-DS3ChipDUS3. Disconnect any power source to prevent accidental electrical shocks. Once the system is off, open the casing to access the internal components. Ensure you follow proper ESD (Electrostatic Discharge) precautions by grounding yourself to avoid damaging sensitive equipment.
Step 3: Physical Assembly
Carefully position the 35-DS3ChipDUS3 in its designated slot within the system. Ensure that it is aligned correctly with the corresponding connectors and secure it using the screws provided. Avoid overtightening the screws, as this can compromise the integrity of the module.
Step 4: Wiring Connections
Once the module is physically installed, begin wiring it according to the schematic provided in the manufacturer’s guidelines. Connect the appropriate cables to each terminal, ensuring they are securely fastened. Double-check all connections before proceeding to avoid any errors that could affect functionality.
Step 5: Configure Settings
After installation, close the system casing and reconnect the power. Power on the system and access the configuration interface for the 35-DS3ChipDUS3. Carefully follow the configuration procedure as outlined in the manual, ensuring that all settings are customized to your requirements.
Important Tips: During installation, take great care to avoid any short circuits. Consult the installation manual frequently to check for any model-specific instructions. If at any point you are uncertain, do not hesitate to seek assistance to ensure a safe and effective installation process.
By following these detailed instructions, you can confidently learn how to install 35-DS3ChipDUS3, enhancing your system’s performance and capabilities.
Troubleshooting Common Issues
During the installation of the 35-DS3ChipDUS3, users may encounter various challenges that can hinder the successful setup of the device. Knowing how to address these common issues can save time and prevent frustration. Below are some frequently faced challenges, their potential causes, and solutions to ensure a smooth installation process.
One common issue is the device not being recognized by the computer. This can occur due to connectivity problems, such as loose cables or incorrect port selection. Ensure that all connections are secure and that the device is plugged into a compatible USB port. If this does not resolve the issue, try using a different USB cable or port, as these components can sometimes become faulty.
Another issue encountered is driver installation failures, which may stem from outdated or incompatible drivers. To address this, check the manufacturer’s website for the latest drivers specifically designed for the 35-DS3ChipDUS3. Download and install these drivers following the instructions provided by the manufacturer. Additionally, ensure that any format or compatibility requirements specified by the software are met, as this can also affect installation.
Occasionally, users might experience performance problems after installation, such as slow response times or connectivity issues. This can be related to system compatibility or other software conflicts. Verifying that the device meets the required specifications is essential. Close any background applications that may be using significant resources and check network settings if the device is intended for online use.
In case these issues persist, users are encouraged to refer to online forums or user communities dedicated to the how to install 35-ds3chipdus3. These platforms can provide valuable insights from others who have faced similar challenges and may offer alternative solutions. By following these troubleshooting tips and utilizing available resources, users can effectively manage any complications that arise during the installation process.